
You can use Windows Group Policy (GPO) to centrally install a specific certificate on all computers in a domain by adding it to each computer’s Trusted Root Certificate store. This may be necessary if you are deploying your own Certification Authority (CA) and need to add the root certificate as a trusted one on all user computers; add a specific site’s SSL/TLS certificate to the trusted list; install an HTTPS certificate to inspect user traffic at the Internet gateway; distribute a self-signed driver or application certificate.
In this example, we are going to deploy a self-signed SSL certificate to domain computers that is bound to the HTTPS site running on the IIS web server. By default, the browser and other applications will warn you that the site’s certificate is untrusted and it is not safe to use the service. To remove this warning, you must add the site certificate to the trusted root certificate store on the user’s computer.
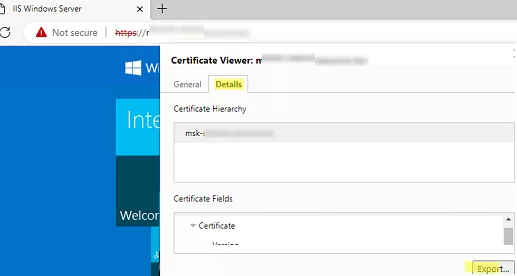
First, export the certificate public key to a CER, CRT, or PEM file. You can export the certificate directly from the browser. If you are using Microsoft Edge, click in the address bar: Not Secure -> Show Certificate -> Details -> Export. Save the certificate as a file in BASE64 format with a CRT or PEM extension.
You can use the WebRequest PowerShell method to get the SSL certificate of the HTTPS site and export it in a CER file:
$webRequest = [Net.WebRequest]::Create("https://exchange_cas/owa")
try < $webRequest.GetResponse() >catch <>
$getcert = $webRequest.ServicePoint.Certificate
$bytes = $getcert.Export([Security.Cryptography.X509Certificates.X509ContentType]::Cert)
set-content -value $bytes -encoding byte -path "c:\ps\your_exchange_cert.cer"
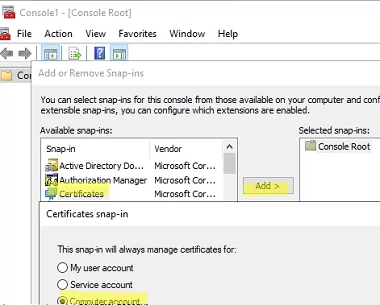
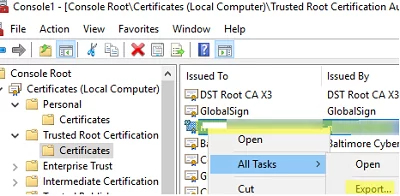
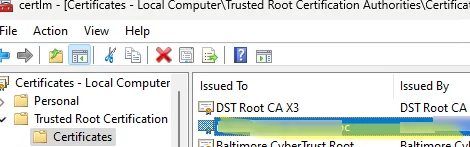
You can also manually export the installed certificate from the local cert store on the user’s computer. In this example, the certificate is a simple self-signed certificate created using PowerShell:
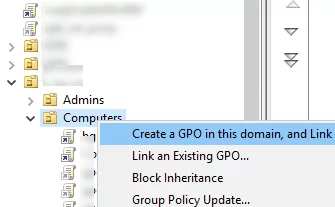
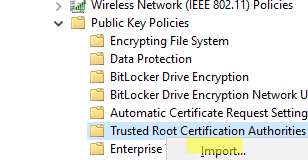
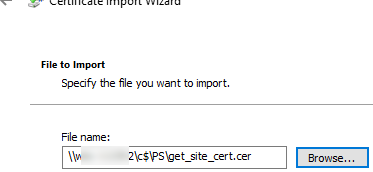
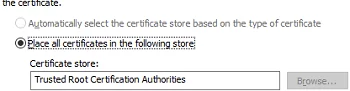
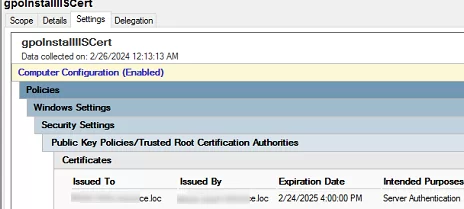
The next step is to create a domain GPO that will install the certificate on the computers.
You can use GPO security filtering or WMI GPO filtering to deploy a certificate only to computers that are added to a specific AD group. [alert]
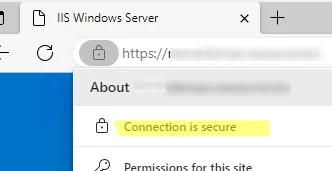
Check that the client browser no longer displays an untrusted certificate warning when accessing an HTTPS site.
If a trusted certificate has expired, is compromised, or needs to be replaced, you can use the GPO to remove it from all computers automatically.
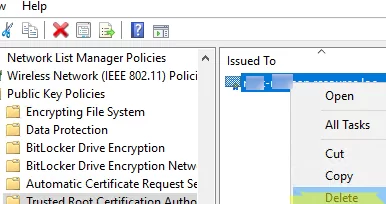
If you want to remove a certificate that was previously manually installed on all computers, you can use a GPO logon script
First, obtain the thumbprint of the certificate you want to delete. List certificates with their thumbprints in the root cert store:
Get-ChildItem -Path Cert:\LocalMachine\Root
In the Netlogon directory on the AD domain controller, create the file delete_cert_iis.bat ( \\woshub.loc\NETLOGON\ ).
certutil –delstore Root CB19F3F57A4EDB004059DEE436A1989D04275196
Configure this batch file to run automatically on Windows startup (read more about using logon scripts in GPO).
Remind you to update trusted root certificates on Windows computers regularly. By default, Windows machines automatically download and install trusted Microsoft certificates. But this may not work in an isolated environment.